|
|
|
|
Contact:
![zenseeker [at] hotmail [dot] com](EmailImage.gif)
(aka Potstand, Topfständer)
Pot stands are important if you have a simple pop can alcohol stove that doesn't have a stand built in and you actually want to use your stove to boil water or cook food. You can also use a DIY potstand to supplement or replace heavier and less stable pot supports on commercially manufactured stoves. The ideal stand for you depends on the size of your pot, personal preference and/or supplies on hand. Here you will find a compilation of many ways to build a suitable potstand as well as many ideas related to potstands to spark your imagination and broaden your creative possibilities.
|
DIY Windscreen/Potstand - Old School
Cone Shaped Windscreen-Potstands
Charcoal Starters - related ideas
|
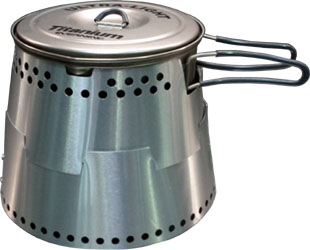
One popular theme is to combine a potstand with a windscreen designed specifically for your pot and stove setup. The advantage being that you have a single lightweight unit that insulates, blocks wind and securely cradles your pot. This windscreen can be made from aluminum roof flashing, cutouts from a thin aluminum bake pan, or just about any type of thin metal sheet (shim stock, heavy hobby foil, drink can sidewalls, etc.). Some backpackers use stainless steel shim or titanium foil to make durable and heat resistant pot stands which can also double as wood stoves.
See our Windscreen Potstand Page for more information on these stands.
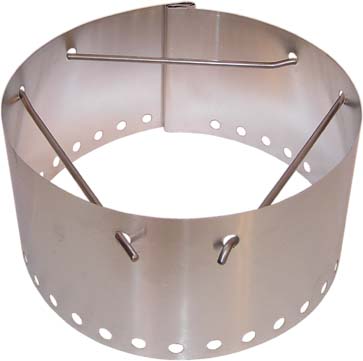
Cone Stands (aka Frustum Potstand, Frusto-Conical, Frustoconical, Tapered Tubular, Bell Shaped, Truncated, Inturned)
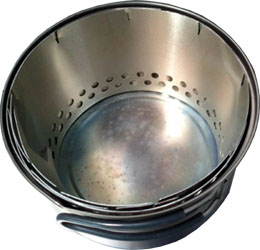
Conical, bowl and bell shaped pot stands (furnaces, firepots, cooking utensils) have been around for a very very long time. They have been used in times of old to concentrate heat around a pot or grill for cooking and are still commonly used in kitchens around the world to support round bottom woks and pots. These are now very popular in the hiking community for their efficiency and utility.
See our Conical Potstand Page for more information on these stands.
Captain Paranoia PS Cone Templates
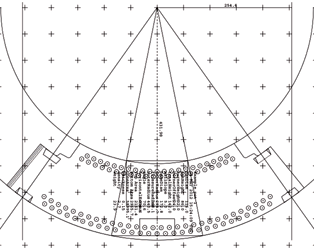
Captain Paranoia in the UK has created a very sophisticated PostScript code which will create a printable paper template for a cone shaped windscreen, potstand or other conical project. It contains several adjustable variables which will allow you to adjust for various sized cones.
Draughtsman's construction method preview of template
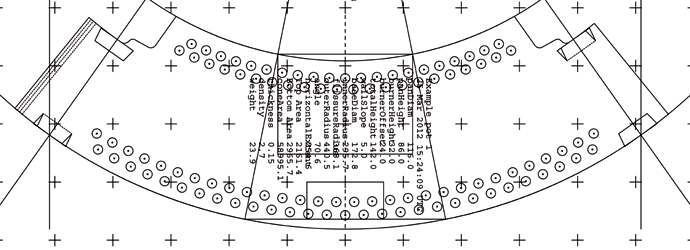
Sample Conic Windscreen Template
Note special joint ends, provision for handles and scale view of pot, stove and sidewalls in center
|
Note: If you are looking for Captain Paranoia's Awesome PostScript Tool, you can find it here.
|
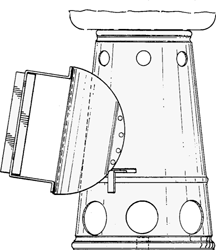
1984 US Patent 4,604,986 and D288843
Nothing compares to a well grilled or barbequed piece of meat. And with a huge market for charcoal technology, a lot of effort has been put into making charcoal use easier and better. Much of the research and ideas surrounding this technology can be used in your pot stand designs.
See our Conical Potstand Page for more information on these stands.
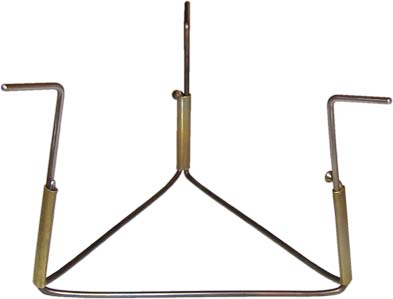
Short version of Deems Burton's Tripod
The goal is to find a lightweight method for your setup that supports your pot somewhere near 2.5-4cm or 1-1.5 inches (varies with setup) above your stove.
See our Other Potstand Page for more information on these stands.
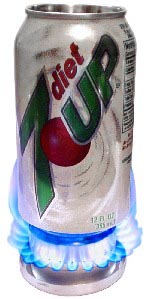
This allows you to set a Type I Can-Pot directly on your stove without the need of a pot stand.
See our CanPot Potstand Page for more information on these stands.
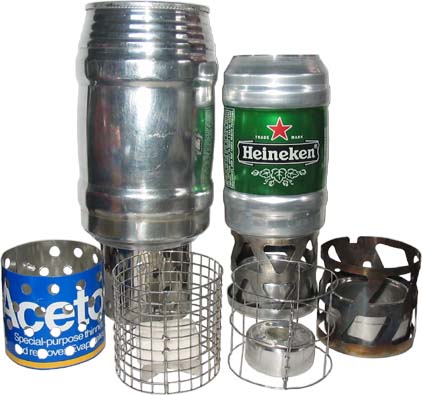
Potstands for cans and bottles have actually been around for a long time. And given the narrow width and small bottom surface area, an approach to heating a bottle or can may be to focus on concentrating heat around the side of the bottle or can instead of just the bottom of the can.
See our CanPot Potstand Page for more information on these stands.

If you want to use the 24oz Heineken can or a Fosters can as a pot, you can make a stove designed specifically to heat that CanPot.
See our CanPot Potstand Page for more information on these stands.