|
|
|
|
Contact:
![zenseeker [at] hotmail [dot] com](EmailImage.gif)
Mini Zen Alcohol Sideburner Stove
This is a great basic stove for solo or duo backpacking. It's light, compact and simple.
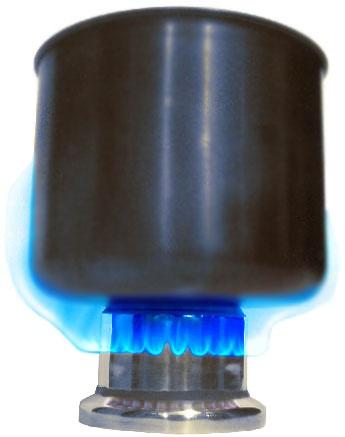
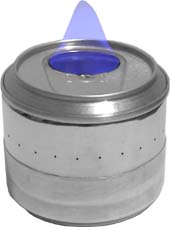
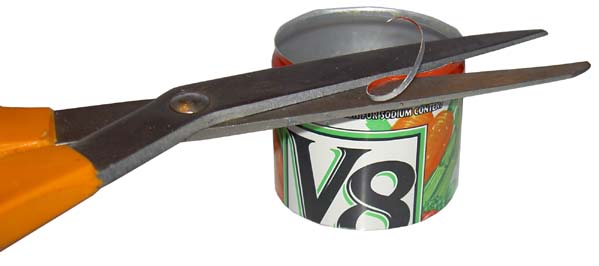
These stoves burn very hot and don't need a pot stand. Simmering is possible if you extinguish the flame and place a 12oz pop can top (with can side removed) inverted on top of stove and light - just make sure that the stove isn't too hot, or the side jets will fire up again.
Denatured alcohol burns very well and methanol (yellow HEET) should just about as well. Rubbing alcohol will burn if you allow your stove to warm up enough, you are indoors, you don't need very much boiled/warmed, and don't mind the cloudy yellow water left in your stove or the soot on your pot if there isn't a good seal between the top of your stove and your pot.
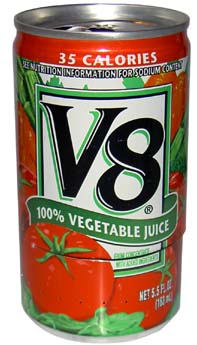
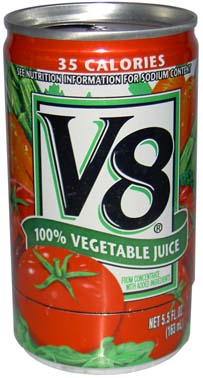
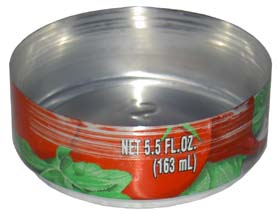
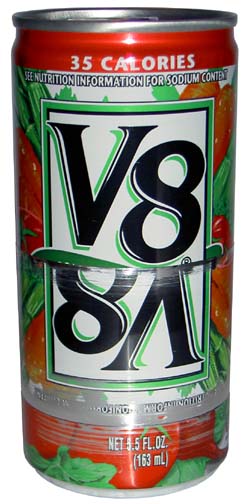
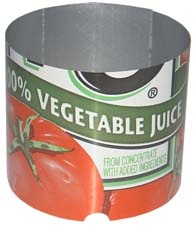
Stove is made of two 6oz V-8 cans. Twenty-four jets were drilled through the side of the stove, 15mm from the top, with a #71 drill. The bottom section of stove is 20mm tall. The top piece is about 30mm tall and the inner cylinder is 40mm wide.
Advantages -
You shouldn't have any leaks if constructed properly.
Doesn't require a pot stand.
Works.
Able to use all Can-Pots.
Easy to find parts.
Primer pan not needed.
Fast fire up.
Can simmer (if you have a pot stand).
Lightweight.
Most efficient sideburner for small pots.
Drawbacks -
Sideburner design not ideal for narrow pots.
Not as sturdy as full size Zen Stoves
Narrow base not ideal for wide pots.
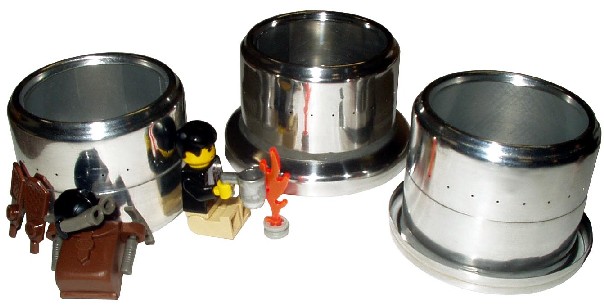
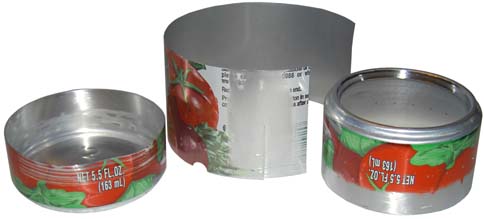
Options
Add a stove base (center stove top picture) - use the bottom 13mm of a Coke and remove the bottom ridge with scissors and sand down flush until the stove slides in easily. Epoxy and set it on a flat surface while the the epoxy hardens. Latter on you can turn this into a primer pan by expoxying on a small width (keeping the ring intact) of a 12oz can side level with your base, forming a little dish. If you flip the base upside down and epoxy it around the side of your stove, you'll have an attached priming dish (see picture below).
Make a primer pan (far right stove top picture) - cut a 3oz Spam Spread, cat food can, or Vienna sausage can down to 6mm (1/4inch) from the bottom and epoxy the stove centered on this. If you would like more fuel capacity, you can cut out the center depression from the bottom section of the stove and make weep holes in what's left of the bottom ridge (use a knife to cut six slits lined up with the edge of each three weep holes in the center tube for looks and bend them back and forth until they break off flush with the bottom of the stove) to allow that last millimeter of fuel to equalize with the outside chamber of the stove (probably not necessary). If you choose not to cut out the center depression of the stove bottom, then you should drill a vent hole in the center of the primer pan to allow pressurized air to escape when the stove is lit. It takes very very little fuel in the primer pan to warm up the stove to operating temperatures.
Build a Can-Pot Adapter - cut out a length of the side of a 12oz can to about 1-2mm wider than your center cylinder of your stove. Roll it up and place it in your stove. You can now boil water in 12oz and 8oz drink cans.
Note - This is just one of many DIY alcohol stove options. For more information on different options visit Zen and the Art of the Alcohol Stove and the Templates page.
Making the Stove
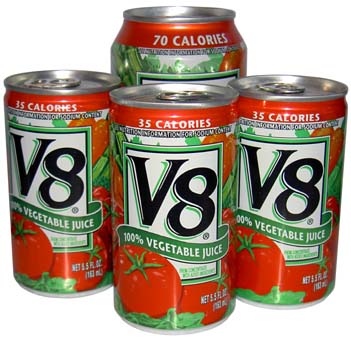
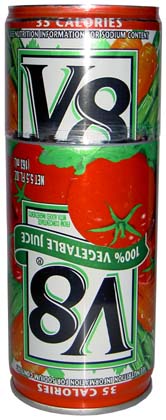
You will need at least 3 6oz juice cans to make your first stove. The inner wall can be made from the side of a 6oz juice can, but a larger one from a 12oz can will work better.
If you would like a shiny silver colored stove, you should use sandpaper or an SOS pad to clean off any coloring before emptying the contents of your cans.
Optionally, you can use an SOS pad of sandpaper to remove as much of the inner coating of your cans. This will allow for a better seal and eliminate the release of toxic gases when you heat your stove.
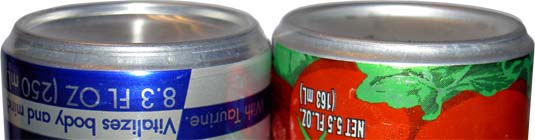
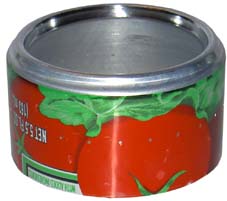
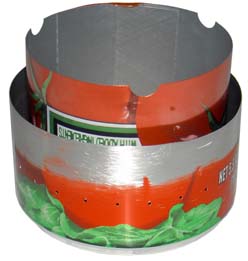
Subtle difference between 8oz Red Bull and 6oz V-8 bottoms
Energy Drink cans are ideal for use with Type II and III Can-Pots
NOTE - If you plan on using and inverted (type II) Can-Pot made of 12oz cans, you may want make the top section of your stove out of an energy drink can which is better suited for this purpose. See the Can-Pots section for more information.
Optional Can Stretcher
Note: If you are using an 8.3oz Red Bull can for the top section, it should fit snugly over a 5.5oz V8 bottom section without needing to stretch it. To test, slide a trimmed down bottom of a Red Bull can over the bottom of you 5.5oz can (i.e. V8) - if it slides over without stretching your in business and don't need to make a can stretching tool. If you deformed your cans while trimming them down, you may need to stretch out your Red Bull can over a V8 bottom to get the two parts to fit together or start over.
First, we will make an optional can stretcher. The optional can stretcher stretches one can bottom to allow it easily slide over the other can. You can also just use an unaltered unopened can as a stretcher for a tighter fit, but may cause the can being slipped over to crimp and leak.

You will want to cut out a section of can at least the same height as the tallest can section to be stretched (20mm for this stove). In the example above, we are scoring a line 45mm (3 half and 2 eighth inch blocks of balsa wood) from the top of the can. Forty-five millimeters is the upper limit of what you can slid over another can and you may happier with trying one 20-30mm tall.
After cutting or tearing along the score-line, use a blade to score around just underneath the underside of the lip on the top or your can.

Remove the lip with a good pair of scissors by cutting along its centerline.
Once you remove the lip, cut along the score line to make a clean even edge.
Use an SOS pad to smooth out the edges.
Force your can section over the bottom of an unopened can. Use dishwashing soap or vegetable oil to lube. You may need to flip over your assembly and use your body weight the force the unopened can into the can section until the edge of each part are at the same level.
Polish off the top of your can stretcher to help it smoothly slide into a can bottom.
Top Section
If you like the shiny metallic look, use an SOS pad to clean off any coloring on your cans before opening them.
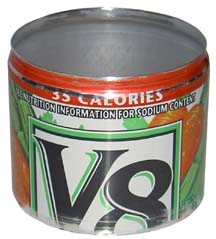
Use a blade to make a score-line around and around the inside of the rim of the bottom of an empty can.

You can cheat and poke thru along the score line. Three or four 1mm pokes should make enough of a start for your tear.
Use the back of your knife handle or thumb to press down and cause a controlled tear along the score line.
Cut out the Side Burner Template for 6oz cans, trim it down to 15mm and tape it to the side of your can, flush with the bottom of your can.
Note: Two templates are provided, one for needle sized holes (#71) and one for pushpin sized holes (#57).
The pushpin sized jets seem to be a bit more reliable than the smaller needle sized jets, especially for wet weather conditions or with poor quality fuel.
Use a #80 drill with a pin-vise or a Dremel to drill out the guide holes for the jets (or you can go straight to a #71 or #57drill if you aren't a perfectionist).
A number 8 needle can be substituted for the # 71 drill and a pushpin can be substituted for the #57drill.

PinVise

Use a #71 or # 57 drill to redrill the jet holes.
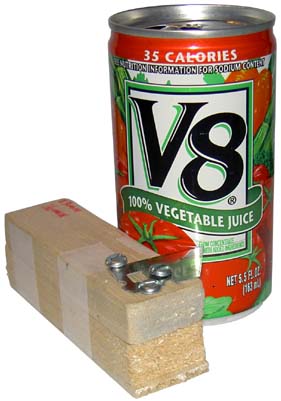
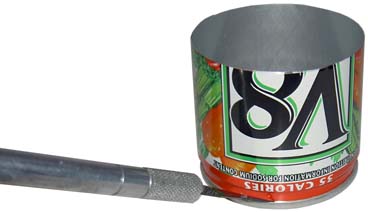
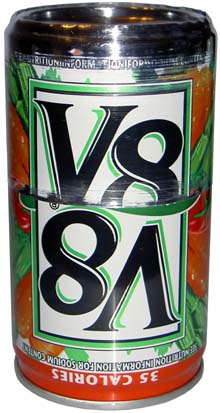
Mark your can 30mm from the bottom. You can use a block of wood with a blade to mark a score line (2 half inch and 1 eight inch balsa blocks).
Use a good pair of scissors to cut down to the score-line or if you have a good scoring tool, score until your can splits in half.
Use sandpaper or an SOS pad to smooth out any rough edges. Optionally, you can remove the inner coating of the can with sandpaper or an SOS pad to prevent it from burning off later and releasing toxic fumes.
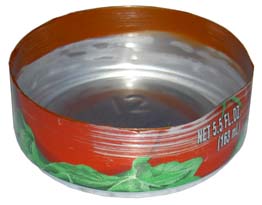
Bottom Section

Mark the bottom part of the stove 20mm from the top. One method is to use a block of wood (one 1/2" and two 1/8" balsa blocks screwed together) with a blade affixed to the top of it to score a nice even line.
Use a good pair of scissors to cut down to and then along the score-line to make a nice even edge or if you have a good score-line, just tear and split the can in half.
Use sandpaper or an SOS pad to smooth out the edge. Optionally, you can remove the inner coating of the can with sandpaper or an SOS pad to prevent it from burning off later and releasing toxic fumes.
Bottom Section Stretch
↓ ↓
↓
Place your bottom on a flat hard surface and force the can stretcher straight down into it as far as possible (using your body weight). The trapped air in the bottom section should force it off the stretcher, but if it gets stuck, use a butane torch or lighter to heat it up and pop it off.
Note: If you are using an 8.3oz Red Bull can for the top section, it should fit snugly over a 5.5oz V8 bottom section without needing to stretch it. To test, slide a trimmed down bottom of a Red Bull can over the bottom of you 5.5oz can (i.e. V8) - if it slides over without stretching your in business and don't need to make a can stretching tool. If you deformed your cans while trimming them down, you may need to stretch out your Red Bull can over a V8 bottom to get the two parts to fit together or start over.
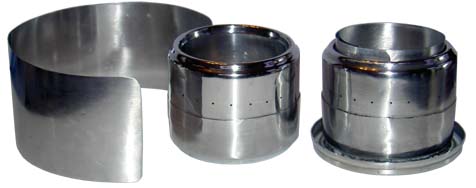
Inner Wall Construction
First cut out a flat sheet of aluminum from a 12oz drink can and tape it down to something hard and flat. If you like, you can use an SOS pad to remove any coloring on the outer side and the coating on the inner side of the sheet.
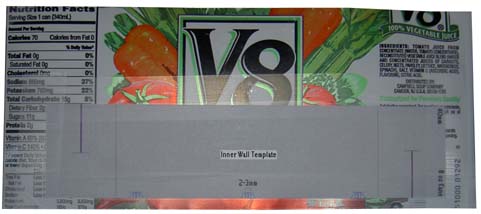
Cut out the 40mm Inner Wall template for 6oz cans and tape it to your piece of aluminum sheet.
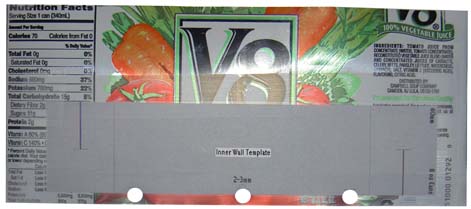
Use a hole punch to punch out the three bottom weep holes.
Cut out your inner wall.
Hook the ends together, tabs facing in.
Assembly
Optionally, use sandpaper to roughen up:
|
Reassemble the inner wall.
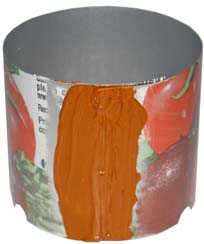
This step is not necessary, but provides a better seal for the inner wall. Apply JB Weld, High Temp RTV, or some other high temperature adhesive (temperature rating greater than 600°F) to the outside of the inner wall. Pivot where the two tabs come together left and right to expose where the two ends contact each other and smear some adhesive on them for a better seal.
Note: If you are using an 8.3oz Red Bull can for the top section, it may fit snugly over the bottom section without needing to stretch it. To test, slide a trimmed down bottom of a Red Bull can over the bottom of you 5.5oz can (i.e. V8) - if it slides over without stretching your in business. Since the top will slip over the bottom section, apply the sealant to the inside of the top section instead of the bottom as show below.
Center the inner wall into the top half of the stove. Weep holes will fit into the bottom section of the stove.
Smear some adhesive onto the inner wall of the bottom section.

Carefully fit the bottom half of the stove over the top half and evenly press it in until it is seated nice and snuggly.

Make sure that the inner wall is centered and clean off any exposed adhesive.
Let your stove set for 24 hour before testing.
