|
|
|
|
Contact:
![zenseeker [at] hotmail [dot] com](EmailImage.gif)
Homemade Aluminum Can Lantern/Stove
Candle lanterns are wonderful to have. They can be used to warm drinks, melt snow, provide light for reading, or just add atmosphere. If you would like to have the luxury of a lantern and cut off a couple of ounces, save a few bucks and/or are just looking for a new project, here you go. This project was inspired by Risk's Teacandle Lantern.
Supplies
You'll need:
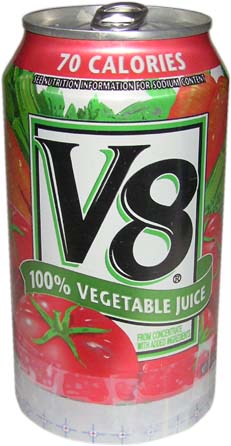
two 12oz aluminum drink cans
plastic water bottle just a tad narrower than the drink cans
hole punch
scissors
printer (for Template)
tape
two or three Popsicle sticks
Optional:
pushpin for extra unnecessary holes
drill with 1/4" bit for side ventilation needed if you want to use the lantern as a stove/tea warmer
needle sized bit (#74) if you want to make guide holes for the pushpin
Instructions
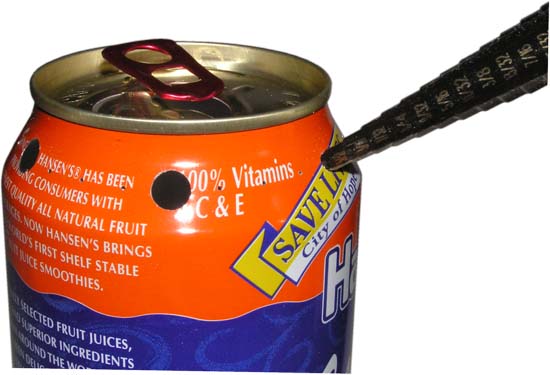
Print out and tape template around an empty 12oz drink can as show above with about 2mm of colored can showing below the template.
If you are using a lager can, position the template so that the horizontal white line is over where the can begins to curve inwards.
Use a good pair of scissors to spiral down to the bottom edge of the template.
Retape template as necessary and use a paper punch to punch out the bottom holes of the windows.
Trim enough off to allow you to punch the upper holes on the windows.
Trim as shown.
An optional touch is adding locking/vent holes around the base of the lantern.
If you have nice sharp drills, drill guide holes with a #74 drill. If you only have crude tools or a push pin, you will want to complete this step later on.
If you plan on setting a mug or pot on your lantern, you will need extra ventilation. If you just want a lantern for light, skip this section.
Flatten the template onto the can and drill out your guide holes (#74 shown). Only the six 1/4" large holes are required and the rest or for aesthetics.
Use a 1/4" bit or a stepped bit (for best results) to enlarge the holes to the proper size.
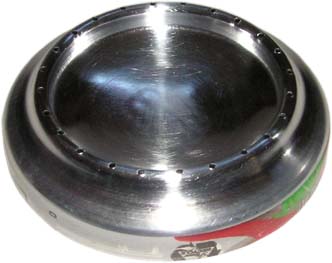
Mark a second can at 5/8" from a flat surface. If you need to, you may use the provided template as shown.
This will become the base for your lantern.
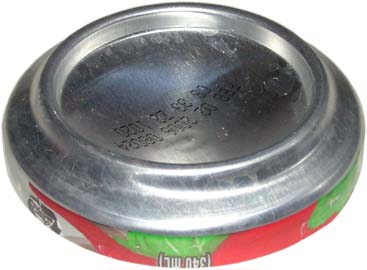
After cutting, your new bottom should look like this.
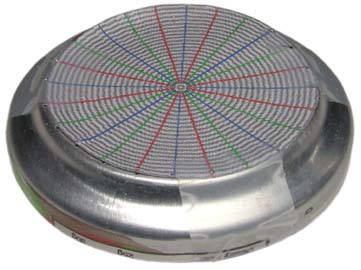
You can add some unnecessary mini vent holes around the ridge of your bottom piece.
A template may aid in evenly spacing holes.
Start with a small drill (#74) and move up to a #55 drill or pushpin.
Use sandpaper or and SOS pad to smooth out any rough spots.
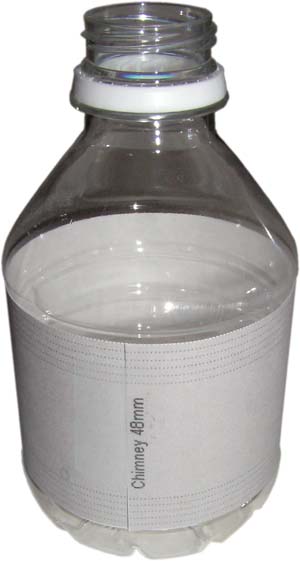
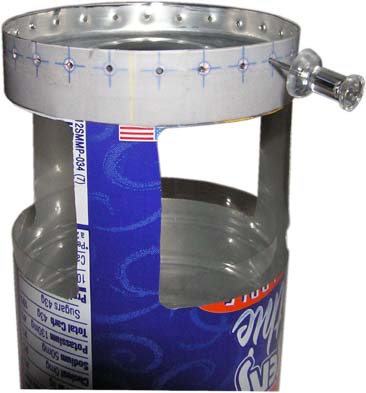
Find a bottle that has a smaller diameter than the beverage can you are using for your lantern and tape the Chimney Template to it.
Shown above, the yellow guide line on the template is covered up. This means that the bottle is narrower than a 12oz drink can.
Cut and remove any label adhesive as needed.
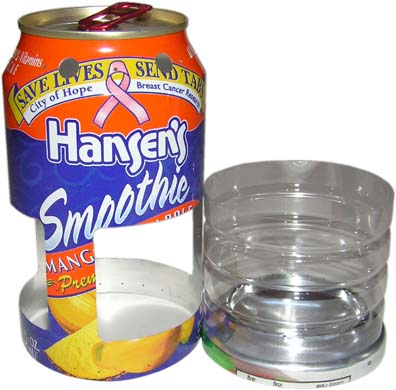
Set your chimney on your lantern bottom and compare it to the window height. You will want your chimney to be just a tad taller than window on your lantern.
Adjust as necessary (if you are using dimensions or cans different than in the example) .
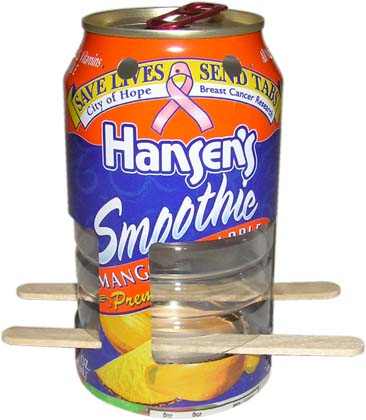
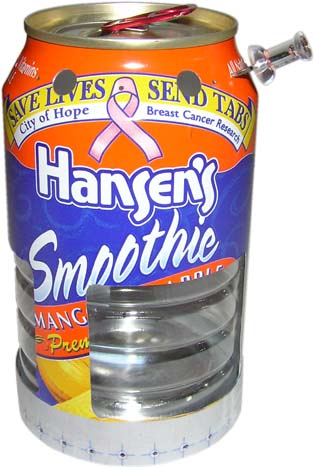
Use a couple of Popsicle sticks to help fit your lantern over your lantern bottom.
Be patient and slowly fit it evenly until your lantern bottoms out.
This step is optional and will help lock together the base section the the main section of your lantern.
If you didn't make guide holes for your optional bottom locking/vent holes, you may want to put the template back on your lantern if you have removed it.
Use a small drill (#74) to make a guide hole through the bottom and use a pushpin to enlarge your holes.
For best results, support the inner wall with your finger (don't poke yourself) and pierce the lantern in a star sequence (similar to tightening lug nuts on an auto).
NOTE: Once you start poking holes, you will not be able to remove the bottom section (which is difficult to do anyways), which you may wish to attampt after you melt your first chimney "glass".
Use a #55 drill or pushpin to enlarge the extra unnecessary vent holes on the top portion of the lantern.
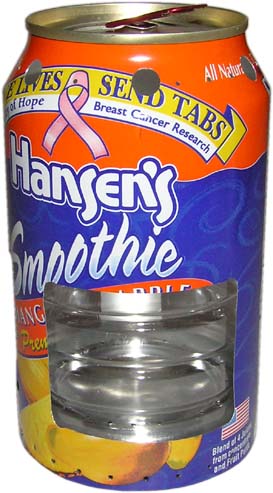
Here's the finished product.
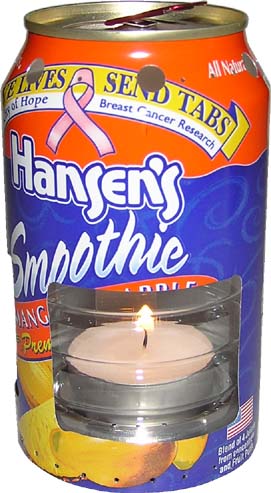
Lift the chimney and add your tealight.
NOTE: lighting the tealight and slipping it in the lantern may work better than trying to light it in the lantern itself.
When lighting your lantern or slipping in a lit tealight, do so with the lantern straight upright. If you do so at an angle, you are likely to melt the plastic "glass" of your chimney.
If you want to hang the lantern from a string, you will need to clip an elongated paperclip or two to the top pull tab (bent to shape of course).
After you melt your plastic chimney, you may consider replacing without disassembling the lantern (a difficult process reserved for the very patient at heart) find a plastic bottle that has a flat side (no ridges), fold it in half twice and slip in lantern (after removing the old one). The folded plastic should pop back out. Or, if you don't mind having a vertical cut in your chimney, cut your chimney down one side, roll it up a bit and slide it in.
